Wednesday 30 March 2011

Making Hedgerows. Part 2

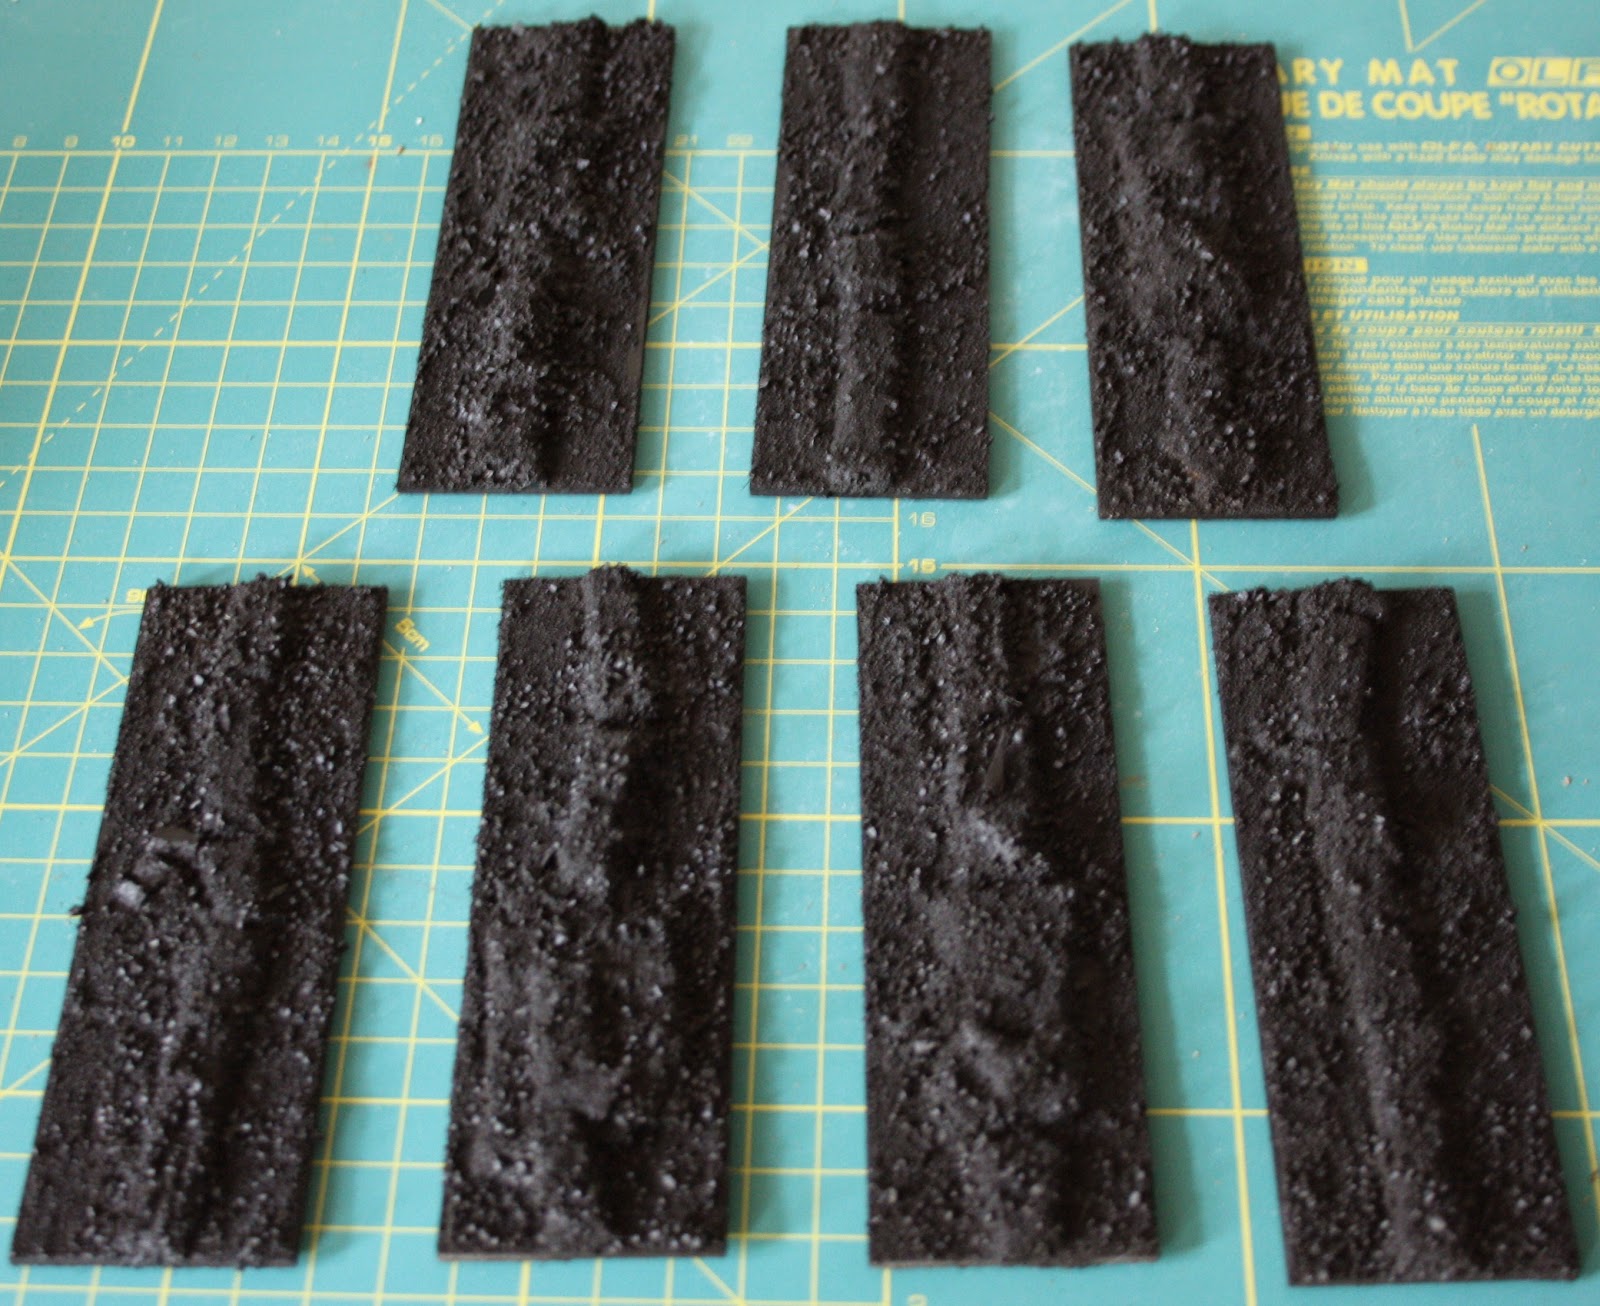
Here we have the bases painted in a suitable earth colour. I say a suitable earth colour but I'm not actually sure it is, its various shades of brown. I used Anita's acrylic craft paint. Starting with Burnt Umber and then building up through lighter shades of brown and finished off with a sand colour brushed lightly over the base. I picked mine up from Hobbycraft. But I'm not sure they sell Anita's anymore but they do have a couple of other ranges in stock, which are similar. For painting terrain I think they are perfectly suitable.

At this point I was much happier with the appearance of the bases, and next was to add the foliage and grass. The finished product....


The hedges are made from Woodland Scenics foliage clusters, with some clump foliage added in a lighter colour, Jarvis scatter fine turf, Silflor flowers and static grass which is from GW. The foliage, flowers and turf come from antenocitisworkshop. Though the clusters I had to get from maelstrom games since they were out of stock at Antenocitis. The clusters are just that. It is the same or a very similar material as the foliage clumps but more tightly packed, which makes it ideal to use for large bushes. 

The above image hopefully gives an idea what the bases look like together. The next image gives an idea of scale.

The figure behind the hedge is an Artizan designs 28mm WW2 US Airborne rifleman. Obviously you cannot tell from the picture but the figures base is butted up against the hedge base. For the record the model is based on a 2p coin.

With the foliage and scatter added, I sprayed the bases with Woodland Scenics scenic glue, using the handy spray top from the aptly named Scenic Sprayer. (The foliage and scatter was glued on first with either PVA or Woodland Scenics hobby tac glue). Once the second layer of glue was dry I sealed the hedges with Games Workshops Purity Seal spray varnish.

Overall I'm pleased with the result but would change a couple of things. Firstly, the cork ridge I should have made slightly wider, perhaps only about another 5mm. This would have meant I could have put wider clumps of foliage on top, filling out the hedges a bit more. Also made the bevel on the edges of the cork steeper in places, to make the slope more pronounced. I might also try not to 'spot' the static grass onto the base next time. In the photos it looks odd on top the turf (well to me anyway).

Next to make more straights, corners, T-junctions and gateways/openings. The MDF bases work fine and I'm hoping the same size base will serve for making bocage.  

Saturday 26 March 2011

Making Hedgerows. Part 1

One of my aims this year is to make as much terrain as I can myself. Making the few pieces I did last year I actually found quite enjoyable, so over the past few days, I've started another terrain project.

This time its 28mm hedgerows. Even though my interest in WW2 gaming centres around the Normandy campaign I decided to make non-bocage hedgerows, which will hopefully be generic enough for other periods/regions.

The purpose of these post(s) will be to record the building process, more so I can identify what works and what does not. First off was what to use to base the hedges on? This question was answered by looking round for what I had available. What I had was plenty of pre-cut MDF bases from Warbases. I had purchased these to use to make bocage hedgerows for 15mm games, but I think they should work well for 28mm.


These bases are 120mmx40mmx2mm and there are seven in a pack. On top of them is cork tile. I had some off cuts of cork tile lying about. So I cut lengths, about 10mm wide, and then further broke that into shorter lengths, and used wood glue to stick it to the base. My original idea was to use the cork, to bulk out the foliage which was to be placed  on top, so it would be hidden. But then I decided to use it to represent a low bank. So I also cut up some slightly wider pieces, to hopefully give that illusion. I had considered, only placing a few pieces on each base so the height of the foliage would vary along each length. But again I changed my mind and laid the cork along the whole length. Since it had been broken into pieces I was able to place it out in an irregular fashion, so the bank would not be to linear. I further placed a few pieces on top of the first layer to give that variation in height. The cork tile was also bevelled using a craft knife, which I was not to exact with since the next stage would hide this.
      
Next was to cover the base in sand. In this case a mix of sand and gravel. This is a mix I made up a long time ago from sand and gravel purchased from a pet shop. At this point I was not to sure that these bases would work. But decided to stick with it. 

Now the bases have been undercoated with GW Chaos black spray. GW spray may be a little expensive to use to undercoat terrain, but its all I've of got at the moment, and it does give good coverage.

So that's where I'm at. Next it will be to paint and add the flock and foliage.    

Saturday 12 March 2011

Off the Bookshelf

This is something I've wanted to do for a while an infrequent little column about what I'm reading or have just read recently. It will probably give clues to what is interesting me the world of wargaming as well. Obviously it will be my opinions only for good or bad. First up....

Monte Cassino by Matthew Parker.  Not a new book I know and my paperback copy has sat on the bookshelf  for probably nearly two years before I finally got round to read it. The quote on the front cover just about sums up this book. It is one of these rare history books which, you cannot put down. Very, very good. 

Monte Cassino is probably one of those battles, which has fascinated me since childhood, and I've read various accounts, and watched documentaries on the subject, but this is the first time I could actually recall reading such a compelling account. Parker does not pull his punches with graphic descriptions of the battle(s), largely drawn from first hand accounts of survivors and some times from accounts of those who did not survivor the battle.

The narrative switches back and forth between accounts of the British/Commonwealth and American assaults to take the town and the monastery. But also covers in some detail the French attacks, which may have succeeded in flanking the monastery, and thus preventing the bloody stalemate which developed,  if they had been given more support. Within all this are stories concerning the Gurkha's, Indian's, New Zealanders and of course the Polish troops who eventually captured the monastery. Accounts by Italian's and the German defenders are all included.

If I was to be critical, I would have liked more accounts from the German defenders, these seem to be lacking, even though Chapter 14 is titled Green Devils of Cassino. The first half of the chapter relates to accounts from the German paratroopers defending Cassino and then switches to Allied accounts again. Admittedly every book can only include so much, but this account could have easily had a further 100 pages added or more and it would not have slowed up the narrative.

If you're interested in World War Two history and in particular the Italian campaign, then buy this book and read it. I bought my copy from amazon. With Afterthebattle  due to release Monte Cassino Then and Now, I'm looking forward to adding a copy to my collection to continue my study of this campaign.

Friday 11 March 2011

Blast from the Past

Its been a bit slow on the painting front over the last couple of months, but have got some figures painted and not what I expected to paint either!

World War 2 US Paratroopers in 28mm. (Can you believe it!). First up two more riflemen. I haven't touched these models for at least eighteen months, which is a shame since when I started this project it was the first time for a long time that I felt quite passionate (steady on!) about painting. But that's not all....


A 60mm mortar and crew to add much needed fire support to the platoon (the bottom photo is an action shot).
All figures are from Artizan designs. I still have quite a few more.

Like so many other projects, these figures had been based and undercoated and lying forlorn in a box. I had planned on painting a few of the Zulu War cavalry, but had a change of heart, mainly because I have the colour scheme for the Para's planned out. When starting on a new range/period I like to do a test figure first, so I'm happy with the colours to be used. Knowing time was going to be a premium for a while I decided to turn to a tried and tested collection. I'm glad I did. 

Admittedly painting these Airborne has renewed my interest in 28mm WW2 again. Plus also the club is trialing 'Troops, Weapons & Tactics', which I think may have potential of providing a good game. Hopefully I will get a game in soon. For now this link Eveshamwargames, gives a brief mention to the game and a quick plug for the club. 

2011 will be a frugal year on the wargame buying front, (thank you coalition government!) but on the bright side I intend to concentrate on ongoing projects ie reducing the proverbial 'lead mountain' . 28mm WW2 being one of them. After all it was because of this project that I decided to join a club again.