Gosh! Over a month since my last post. Time does fly by even if you are not a driver of a train!
Change to life plans took up a lot of the last few weeks and also a stock check. Decided to delve into dark corners to discover what was squirrelled away. No gold doubloons, but lots of unpainted lead. A lot of unpainted lead, I even found stuff I forgot I had bought and some items I thought I had given away. Not sure what I'm going to do with it all other than hide it in some other dark corner, to avoid embarrassing cross examination from Mrs G.!! Of course I could paint it all; don't make me laugh!
Also took the opportunity to tidy up my work stations. Having been subjected to the torture of viewing photo's of very tidy painting desks e.g. Loki's, Mr Awdry's to name but a few. I felt compelled in the best British spirit to pull my self together, and tidy! I now actually have room to swing a cat! Marvellous (try saying that in your best Brian Blessed voice)! Any way enough of the boring real life adult world....
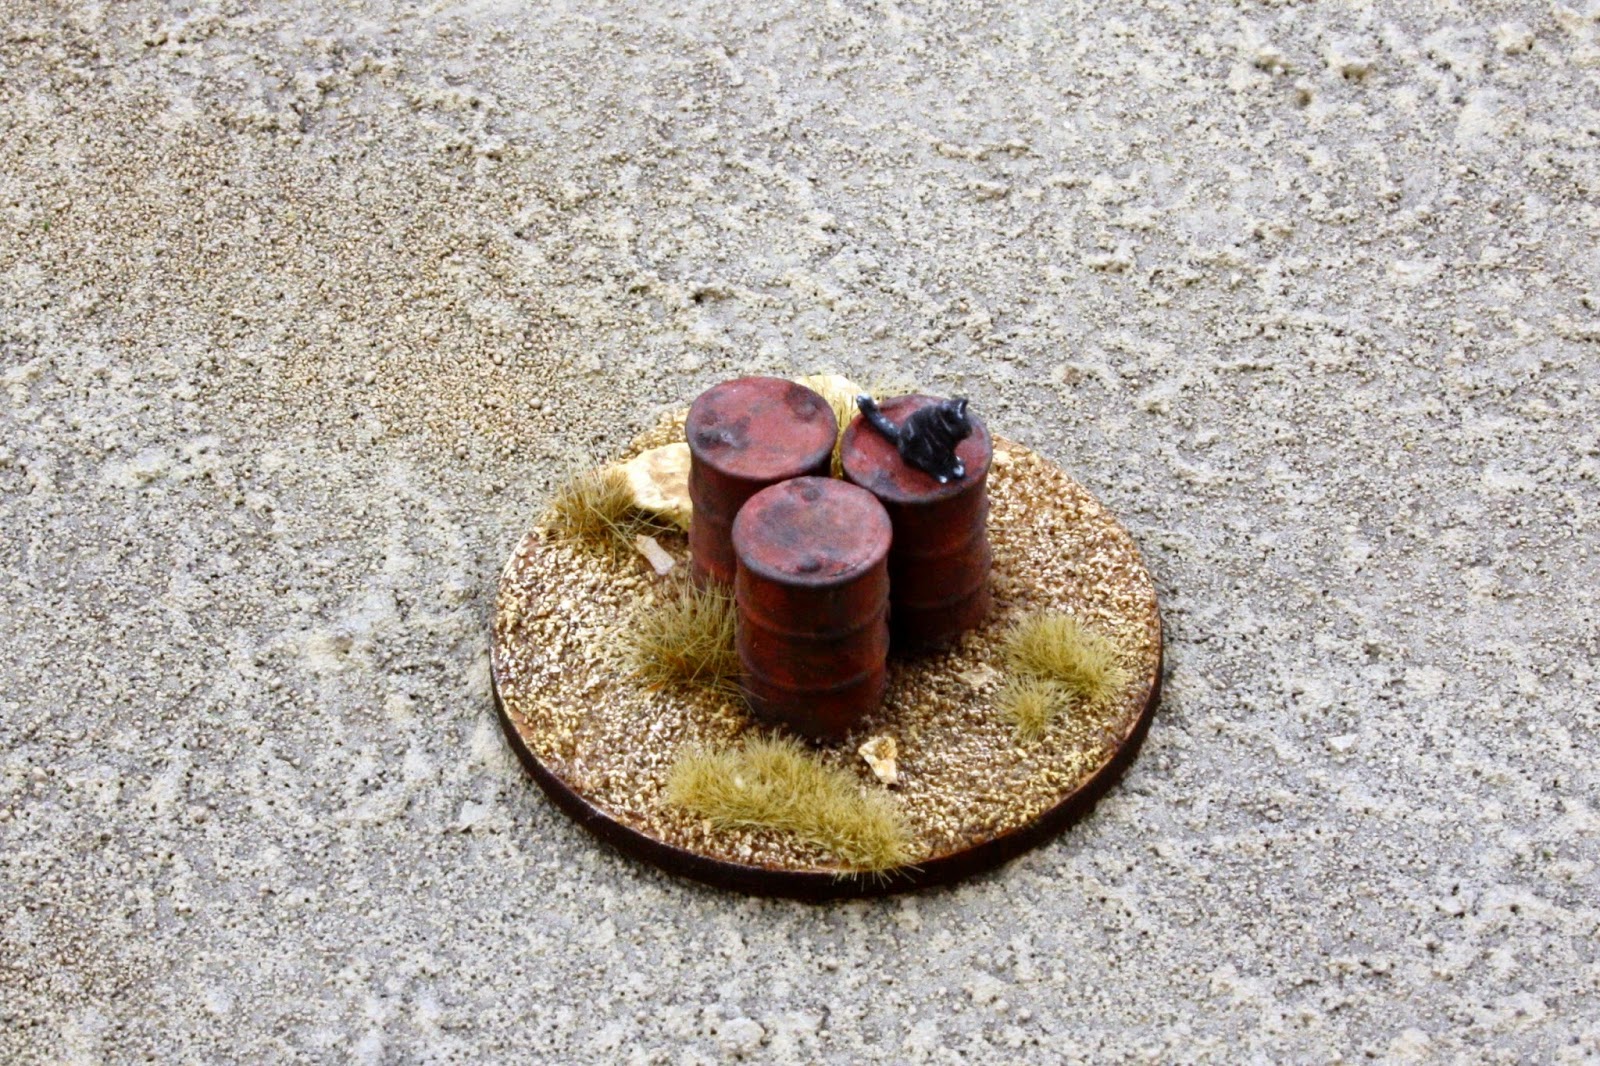
Did manage to squeeze in time to paint a few pieces of terrain and some more Insurgents/Fedayeen Saddam for the OIF project. First up the terrain;
A well. This is one of the pieces I found hiding at the bottom of a box. It's 20+yrs old! The well was part a 20mm Vietnam range, and came molded onto a scenic base with pots. I smoothed the base down slightly, to lower the height and mounted it onto an old MDF base (pre-laser cutting). Built up the edges with DAS clay, textured and painted. The rope is a piece of broken metal chain I found lying on the floor in my girl's room. I'm guessing it came off some costume jewellery. So I spirited it away until I could find a use for it. I realised that when I came to paint the well, there was no bucket or similar receptacle modeled on it. So the rope/chain is meant to represent the bucket having been lowered into the well.
I purchased this item from a shop which used to be in Towcester, and was run by a chap called Mick (I think?). He started to produce some resin terrain in 20mm-Vietnam and 15mm-ACW. They were nice pieces, but I don't recall what happened to the shop or owner. Anybody else remember it?
Next up some Skips which are resin from the '
The Scene';
These are the empty ones. I added the rubble myself, which is made up from cork, balsa wood and sand. Not much to say about these. Nice little models which I have painted and weathered in the usual way. These are available in 15mm and I think 28mm. I have to my knowledge only seen one photo of a skip in Iraq which was actually painted white. But I decided to go with UK yellow!
Now a photo of one of the skips in front of one of homemade houses with a couple of insurgents to give an idea of scale. Followed by a photo of all three terrain pieces together again to give idea of scale;
Also finished a few more insurgents and the first of my Fedayeen Saddam (Saddam's Men of Sacrifice).
These figures are all from '
Elhiem'. The Fedayeen are nice figures but since they wore a black uniform not more I can say. Struggled with the photo's of these. For some reason the camera did not seem to like the all black figures. They also look darker than they actually are. The skin on the Fedayeen may appear darker since after painting the basic colours I put a wash on them to shade, but forgot to highlight them again! I intend to use the figures in civilian clothes to represent the Fedayeen along those in the uniform.
On the workbench more Fedayeen, another T-72 and something old, something new, something borrowed (?) and something yellow!
That's it for now more to follow.....


.jpg)

.jpg)
.jpg)
.jpg)
.jpg)
.jpg)
.jpg)
.jpg)


.jpg)
.jpg)
.jpg)
.jpg)
.jpg)
.jpg)


